This is the only rig the app has a measured calibration for, and it is what every frame on the marketing site was shot on. I am posting it in full — parts, photographs and all — so there is a shape to copy when you post yours.
#The rig
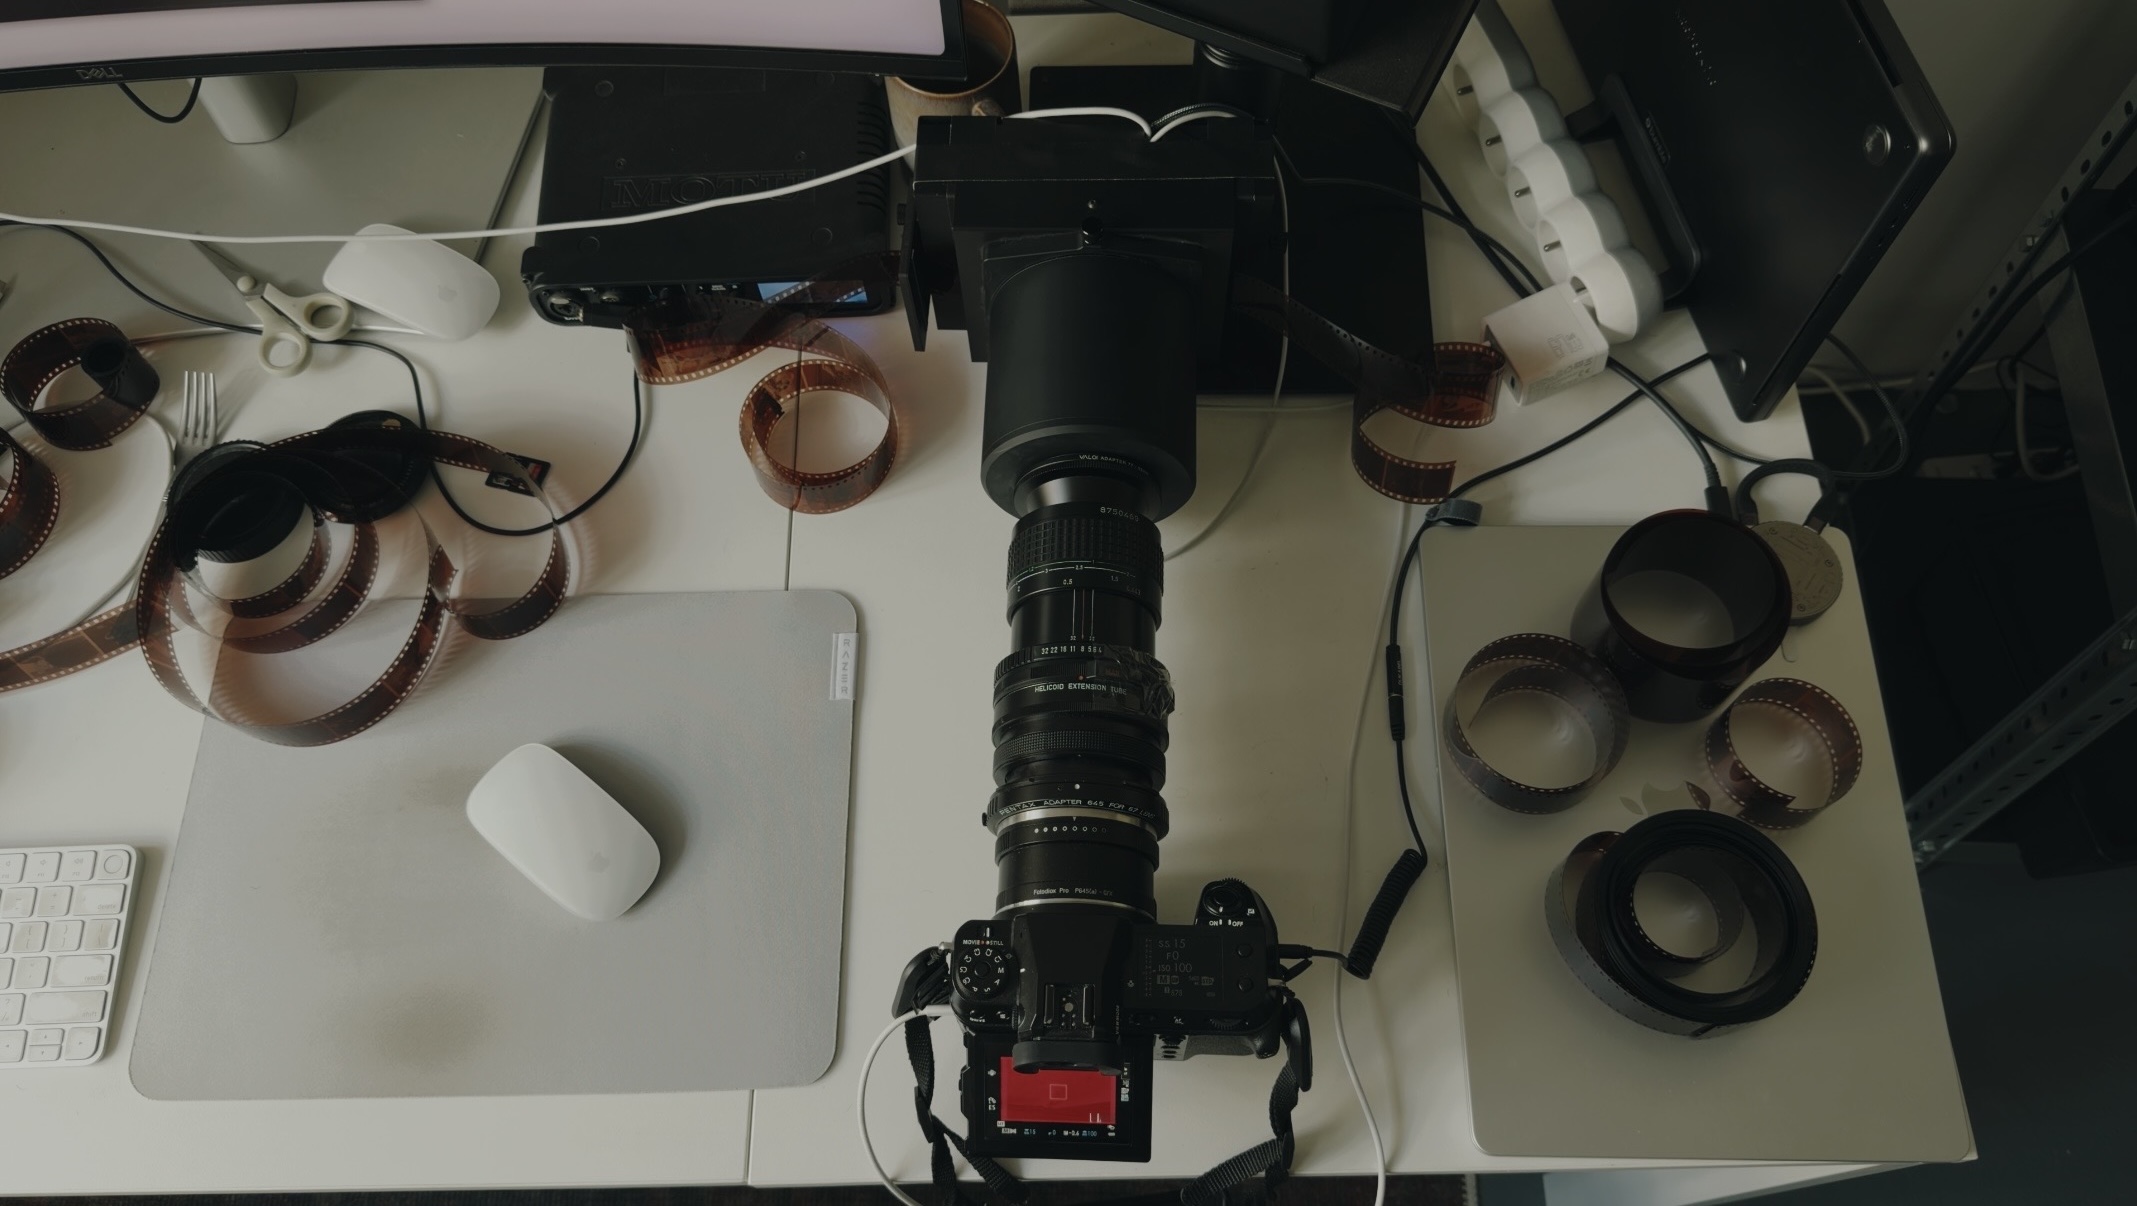
| Part | What it is |
|---|---|
| Light | Scanlight v4 — three narrow bands |
| Wavelengths | 665 nm · 525 nm · 450 nm |
| Identifier in the app | scanlight-v4 |
| Where the light came from | jackw01's Scanlight — open hardware, CERN-OHL-W V2. I bought mine rather than building it |
| Trigger | 3.5 mm jack — the light steps bands, the camera follows |
| Camera | Fujifilm GFX 100S, shot RAW |
| Lens | Pentax 67 Macro 100 mm f/4 |
| Adapters | Pentax 67 helicoid extension → Pentax 645 → Fotodiox Pro to GFX |
| Stand and holder | Valoi 120 |
| Aperture | f/8 |
| ISO | 100 |
| Frames per exposure set | three, one under each diode |
| Empty gate | three more, one under each diode |
The three bands are the whole point. Photograph a negative on a white light table and the camera measures it through its own red, green and blue filters — and those are wide, and they overlap. The red channel sees some of what the magenta dye is doing. Light the negative with one narrow band instead and almost the only thing modulating it is one dye layer.
Note
Shutter is deliberately absent from that table, because it is not one number. Each diode puts out a different amount of light, so each band gets its own exposure. Set them once for your light and leave them — what matters is that the three are consistent, not what they are.
Nothing in that list is exotic except the light. The one part worth a word to anyone assembling this is the helicoid: focus at this magnification is a millimetre-scale problem, and a helicoid or a focusing rail is the difference between sharp and sharp on the third try.
#What "calibrated" means here
It means the app knows how this particular light lands, so a density read under it means what it says. On a different light source the colour will land somewhere else, and I cannot tell you where until I have seen it. That is not modesty — it is the honest state of the table: there is one entry in it.
#What it is calibrated against
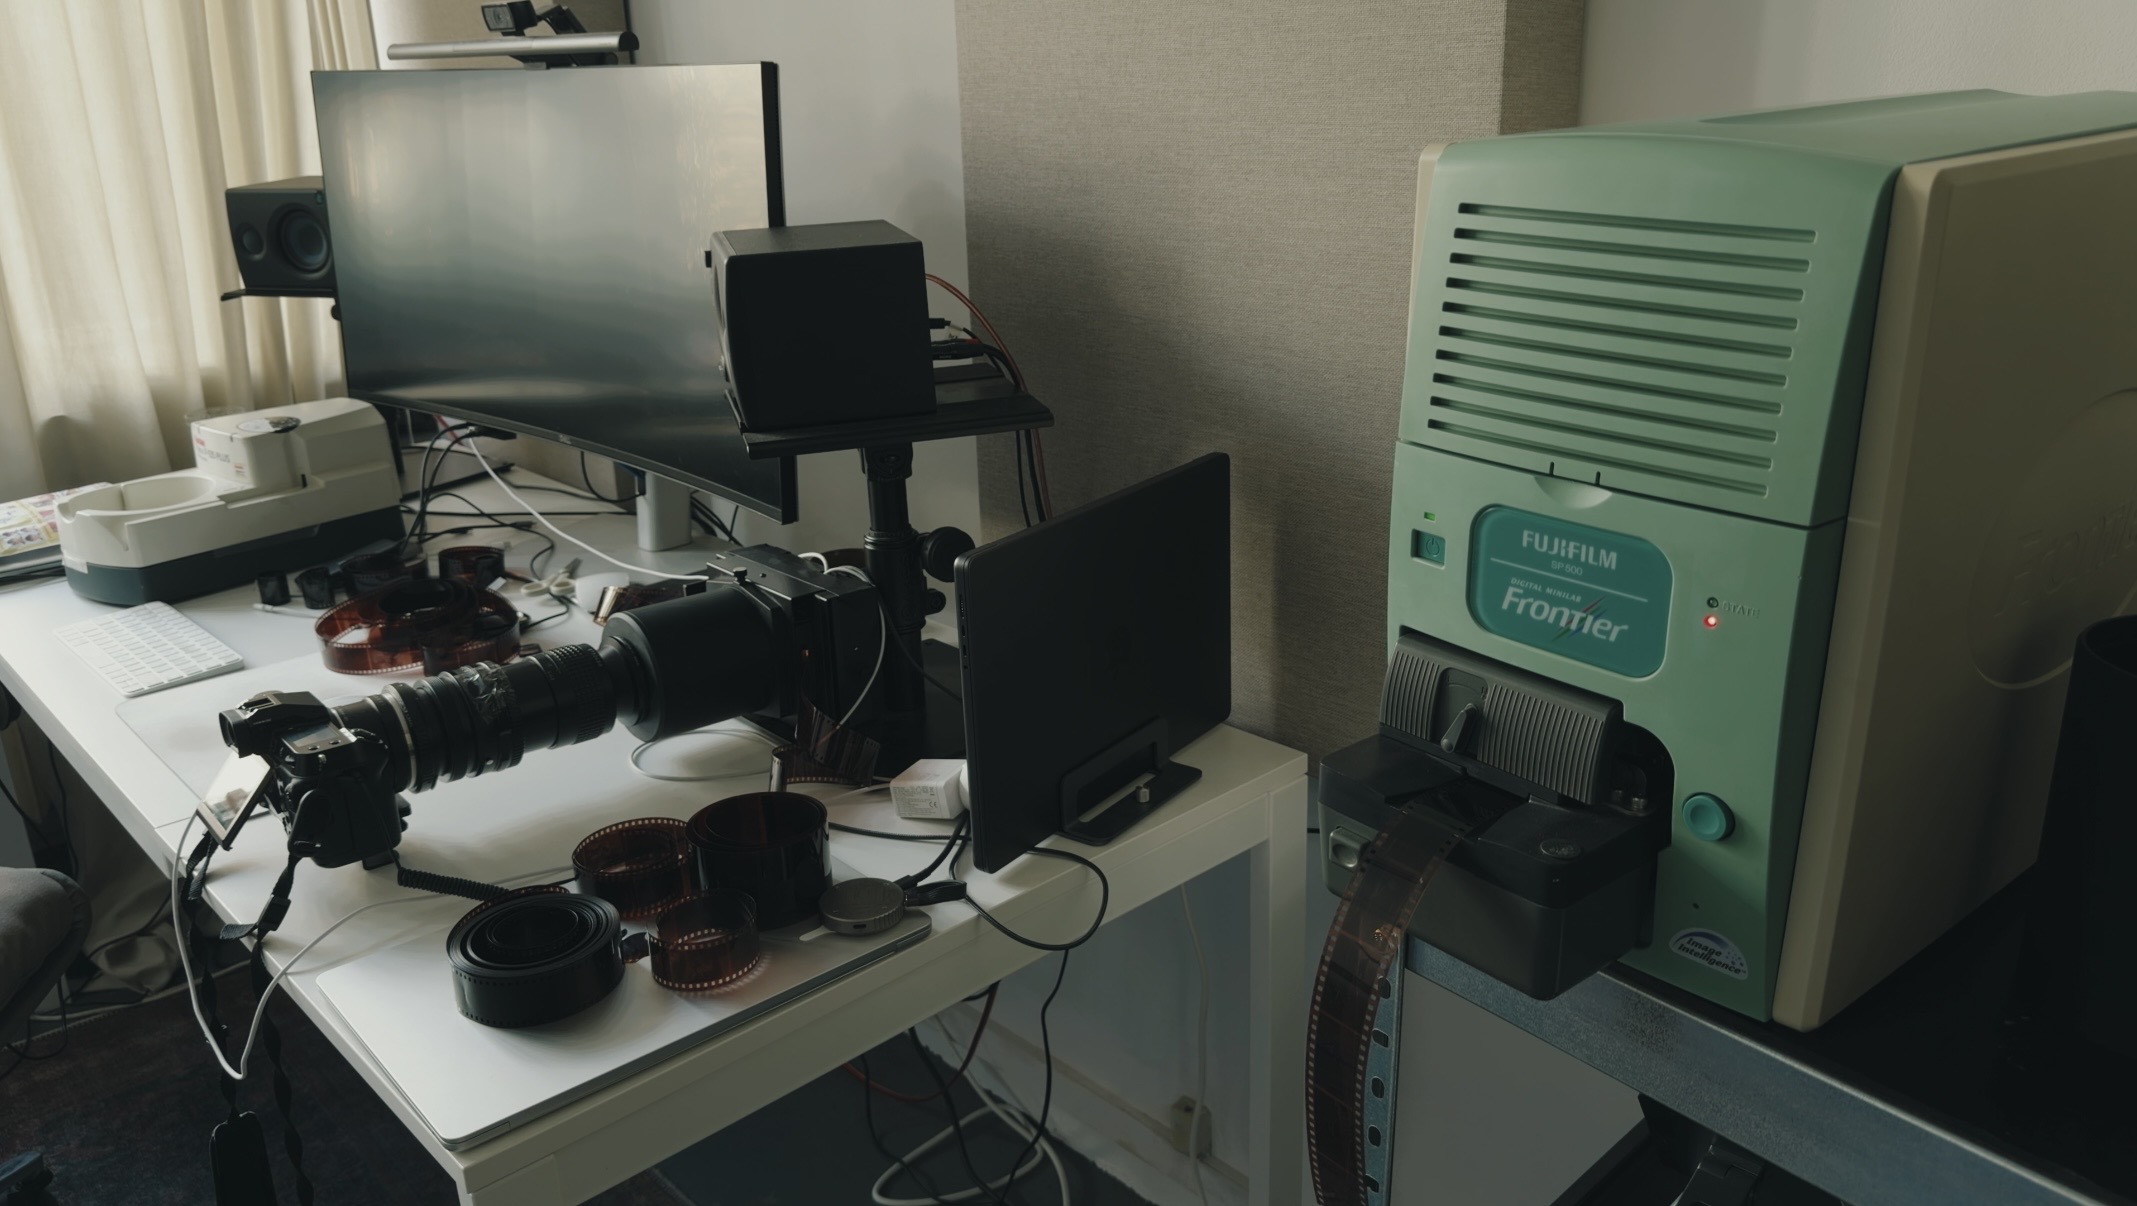
On the right: a Fujifilm SP-500 Digital Minilab. It is the smaller sibling of the SP-3000 and runs the same colour pipeline.
That is the whole reason any of this can be checked rather than asserted. The machine is three metres from the copy stand, and the comparisons are the same negatives through both — not a resemblance argued from memory.
#Posting yours
Say these, and I can work out the rest with you:
- The light — make and model, or the LEDs if you built it. Peak wavelengths if you know them.
- The camera — body and lens, and whether you shoot RAW.
- The stand — how the film is held flat, how you trigger.
- A frame — ideally with the rebate visible, plus the three shots of your empty gate.
Post it even if you cannot answer every row. The rows you leave blank are the ones I will ask about.
Tip
The empty-gate shots matter more than the picture. They are what turns a reading into a density; without them there is nothing to measure your light against.
The measurement is not a favour I do once. It becomes an entry in the app, ships in the next build, and then anybody with that light gets it for free.